Saturday, May 30, 2020

Picket Fence Studios + My Sweet Petunia Collab Blog Hop

So exciting! Two great companies coming together for one great blog hop. My Sweet Petunia and Picket Fence Studios are two of my favorites. There are prizes up for grabs, so follow me along with the Blog Hop. 


You all know I love my PFS stamps and dies, and I must say I use my MISTI EVERY TIME I stamp. I have had the Original MISTI forever and just recently added the MINI MISTI to my supplies. I love both sizes and use them both equally. 


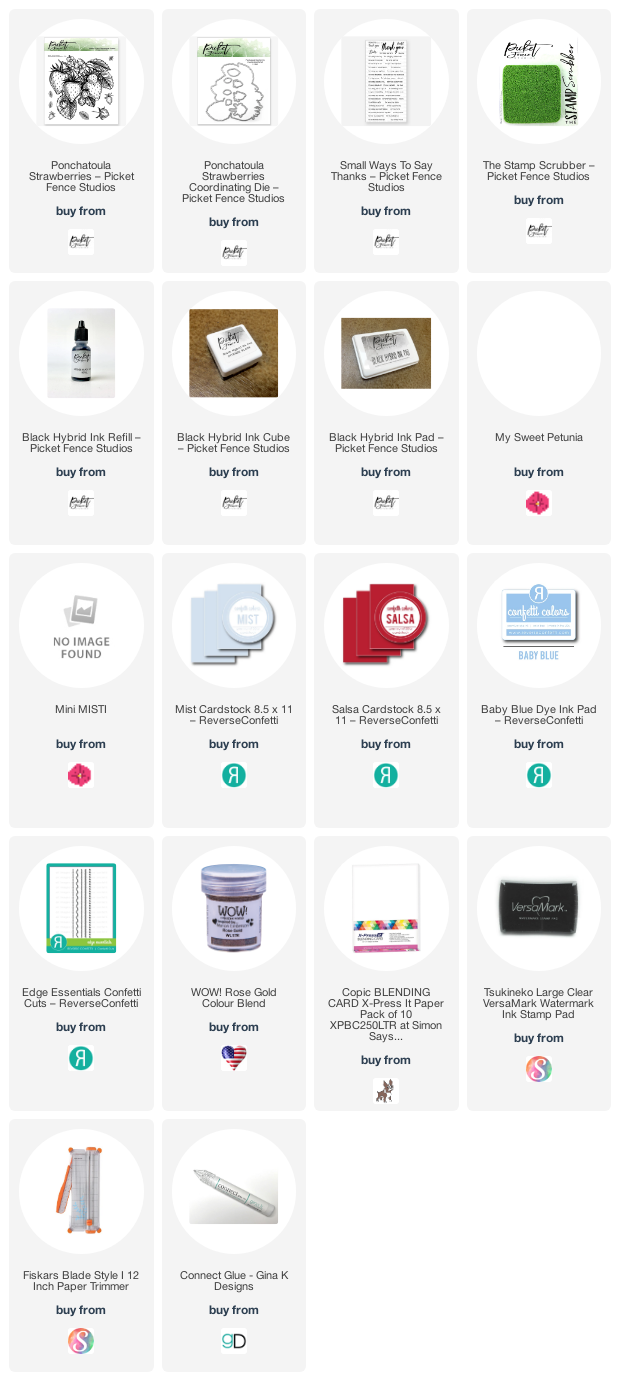
I used both sizes on my strawberry card today. I went strawberry picking this week and I was inspired by the beautiful red fruit and rows of gorgeous green plants. When I sat down to create, right away I was drawn to this image by PFS. I love the giant size of the Ponchatoula Strawberries and I knew I wanted to add sone embossing to the image.  I used the Original MISTI to stamp the image in Intense Black ink, so I could color the strawberries up. I made sure to not remove the stamp from the Misti, so I could stamp it a second time, after coloring, with Versamark ink. I then could add the Rose Gold Embossing powder. That's the beauty of the Misti, it allows you to stamp and re-stamp images as long as you position the paper in the corner and keep the stamp in the same place on the lid.  So easy and perfection every time. 


Because I didn't move the stamp and placed the colored paper panel back into the corner, I was able to add the versamark ink over the colored image so I could add the Rose Gold Embossing Powder. After I heated the embossing powder, I used the matching Ponchatoula Strawberries Die to cut it out. I then placed it at the bottom of Mist card stock that I had added the strawberry image in Baby Blue ink along the top 

I pulled out the Mini MISTI to stamp up my sentiment. This size is perfect to keep on my desk and stamp all the little images I work with mostly. Today I decided on a sentiment from Small Ways to Say Thank You


I stamped the sentiment in Versamark and added the same Rose Gold embossing powder to the words. I finishe dit off with a tiny scallop from the Edge Essentials Confetti Cuts. Here's a closer look at the details. 


Here is the list for our Blog Hop. Be sure to leave comments along the way. Picket Fence Studios and My Sweet Petunia are both offering $50  gift certificates. 


My Sweet Petunia

Thanks so much for stopping by today. I hope you enjoy all the creativeness on this hop. There is so much talent. 
Wednesday, May 27, 2020

Color Throwdown no.595


 Jodi is our hostess this week and she picked a beautiful classic combo. I love pretty much any color with black and white. This week, the generic colors are Aqua, Black, and White.

If you upload to a public gallery please use the keyword CTD595, and please use #ctd595 and #colorthrowdown on social media sites.  Also, when linking up your card using the linky tool at the bottom of this post, please be sure to use a link to your specific post, not just a generic link to your blog.  And remember only paper created designs are allowed.

Those sweet little dots on the lounge chairs from the inspo photo called out to me. The Snowball Cover Panel was the perfect fit for my background. 

I colored up the Butterfly Blossom with an assortment of aqua Copic markers. I framed it up with a Circles 'n Scallops. The sentiment is from So Many Sentiments


Check out the beautiful creations from the team this week! They are sure to inspire you, they always inspire me!! Have fun creating, we cannot wait to see what you come up with using these colors!


Thursday, May 14, 2020

Picket Fence Studios May Release


Hello friends. It's time for the May Release from Picket Fence Studios. We are excited to share all the awesomeness with you. You can shop all the new products HERE! But don't miss out on what the team has created. You can find all our new release projects on our blogs and on social media pages. 


Today I am sharing the next stamp from the shell line-up. It's called Nautilus Shell Scene. I have really enjoyed creating with these stamps. This month I colored it up with copics and used the coordinating Nautilus Shell Scene die to cut it out. I set it aside and worked on the background. 

I love this new Exotic Leaves Stamp.  I did an ombre inking of the stamp and used the continuous pattern to line it up and stamped it twice to cover my card front. I loved the tropical colors and feel and I thought it would make a great background to match the colors I used on the stamp. At the last minute I decided to add a few clusters of the stone and greenery images from Things on the Sea Floor. I also tucked in a few sequins to finish it off. OMG! speaking of sequins....did you see the new sequins in the shop? Check them out HERE. add a few. mixes to your order, you won't be sorry. 

Thanks so much for stopping by! Happy Release Day!


Wednesday, May 13, 2020

Color Throwdown 593- Handcrafted Hello


Hi, all!  Broni is this week's hostess for the new Color Throwdown challenge.  She chose a sweet spring-like color palette for us to play with this week.  The generic colors are Pink, Blue, and Yellow.

If you upload to a public gallery please use the keyword CTD593, and please use #ctd593 and #colorthrowdown on social media sites.  Also, when linking up your card using the linky tool at the bottom of this post, please be sure to use a link to your specific post, not just a generic link to your blog.  And remember only paper created designs are allowed.

You know I reached for some Reverse Confetti for this week's challenge. I wanted to color up a pink bunny, so I grabbed the Crafty Friends (all links are below. Please and thank you) stamp set and my copics and got busy. 


I used the Double Stitched Window Cover Panel in Navy to frame up the sweet little scene. I blended on some Sunshine ink to add in a bit more of the yellow color from the graphic. I finished the sentiment with some white embossing powder from WOW! 


Check out the beautiful creations from the team this week! They are sure to inspire you, they always inspire me!! Have fun creating, we cannot wait to see what you come up with using these colors!


Friday, May 8, 2020

Happy Birthday Reverse Confetti


It is definitely a day to celebrate. It is Reverse Confetti's birthday! While we don't have a new release quite yet, we are celebrating with a creative Blog Hop and it's a birthday theme!  
We also have a great Coupon Code for you! 

 Image may contain: text
 I couldn't narrow down my card ideas, so I decided on a bundle of tags focusing on the awesome critters from Cheerful Pals. I picked two of our larger tag styles and cut two of each, Grid Stitched Tag Confetti Cut and Stitched Hex Tag Confetti Cuts.


I did some ink blending on each tag for a pop of color as a backdrop to my critters. I colored up the critters with my Copic markers and then cut them out with the Cheerful Critters Confetti Cuts. On each of the images that had a banner or pennant, I masked off the wording and did some paper piecing with pattern paper from Cue the Confetti.  


The sentiments I pulled from a few different sets: Word Up, So Many Sentiments, and Cheerful Pals. I also added some wow! factor with the Hooray & Cheers Word Dies. I made sure to really have those stand out by adding some bling to them. That sweet little elephant tag, might just be my favorite! 


Wednesday, May 6, 2020

Color Throwdown 592- Sympathy Stack


Hi, everyone! It's time for a new challenge! Barbara is  here with our colors for this week. Remember, we're using generic colors, so as long as you use the color values shown: aqua, teal/turquoise, gray, and metallic gold you'll be good...the color police won't come after you--this is all about having fun! And, feel free to incorporate any other neutrals you need in your design, as well. 

If you upload to a public gallery, please use the key words CTD592and please use #ctd592 and #colorthrowdown on social media sites. Also, when linking up your card using the linky tool at the bottom of the post, please link to your specific post, not a generic link to your blog--all of the "rules" are in the right sidebar, so check 'em out to be sure. Importantly, though, no digital designsonly digital images that are printed off and colored will be allowed. Totally digital designs will be removed from the link up. 

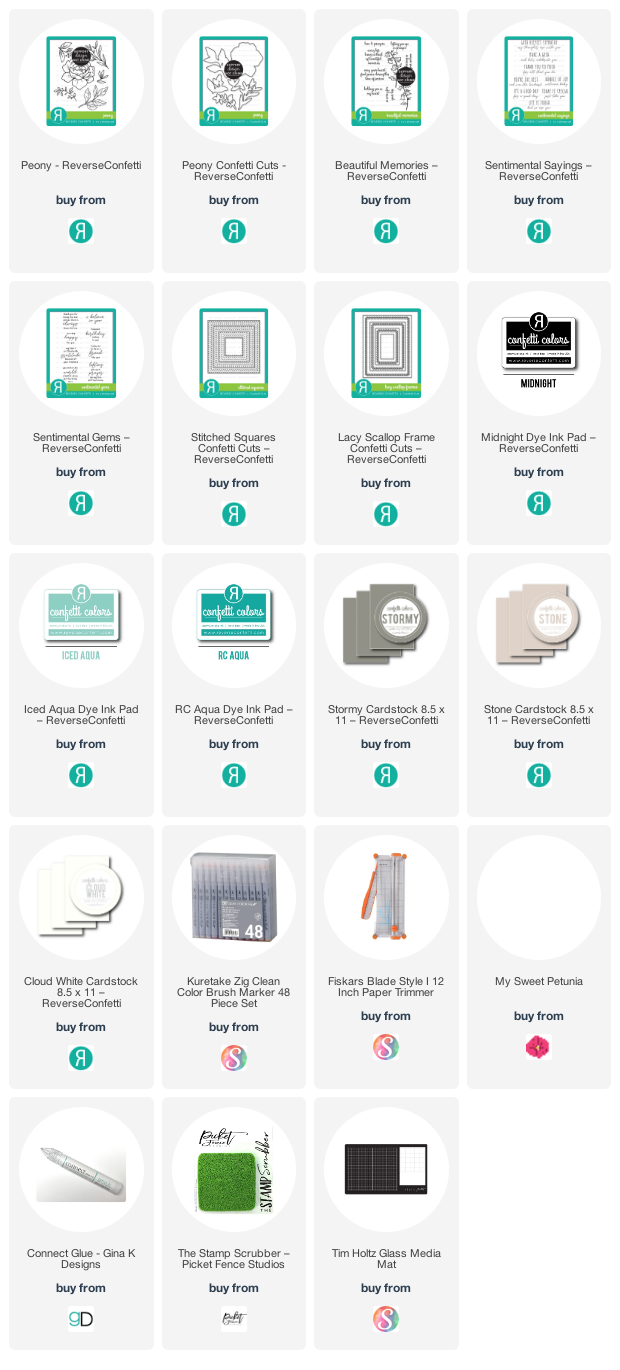
I used some of my favorite Reverse Confetti sets for today's cards. My sister requested a stack of sympathy cards, so I got busy. I used similar products (affiliate links listed below. thank you, if you choose to use them at no extra cost to you):

Peony stamp set
Peony Confetti Cuts
Beautiful Memories stamp set
Sentimental Sayings
Sentimental Gems
Iced Aqua ink
RC Aqua In;
Stormy card stock
Cloud White card stock
Midnight ink

I changed up the card layouts, and coloring mediums (I used straight up inks, Copic markers, and Zig Clean Color Brush markers) and created a stack of cards that were similar but different. My favorite way to mass produce cards. 

This card is my favorite. It was one of the last cards I created and I loved the layout. The gold striped vellum is from Stampin' Up!, and I colored the leaf images from Peony with Copics on this one. The sentiment is from Sentimental Gems stamp set. 


This card uses some of the same images, quickly water colored with my Zig markers. I cut them out with the coordinating Peony Confetti Cuts and used a sentiment from Sentimental Sayings. 


I had two water colored images left over and I added them to the bottom of the Stitched Squares Confetti Cuts in Stormy card stock. The sentiment is from Sentimental Gems. I love the greeting. So perfect for any difficult time. 


For more inspiration, check out the design team members' creations below, and get inky! We can't wait to see what you come up with this week.

Check out the beautiful creations from the team this week! They are sure to inspire you, they always inspire me!! Have fun creating, we cannot wait to see what you come up with using these colors!
May Guest-

Friday, May 1, 2020

Picket Fences Studios and WOW! Embossing Collaboration Blog Hop


Welcome Welcome! I am so excited you are here with us. It's a fun day and kick off of a two day event with Picket Fence Studios and WOW! Embossing Powders! 


Before I jump into my two projects, I have a little info for you. Hopefully you arrived here from Angela Bode.


  • PRIZES - No Blog hop is complete without a prize!
  • WOW! Embossing Powders is giving away a $25 gift certificate to either their UK or USA store.
  • Picket Fence Studios is giving away a $50 gift certificate to their store.
  • The Winners will be chosen at random from the comments left on THE POSTS.
  • To join this GIVEAWAY you must leave a comment on each blog post to have a chance at getting your hands on the prize. This hop is open internationally.

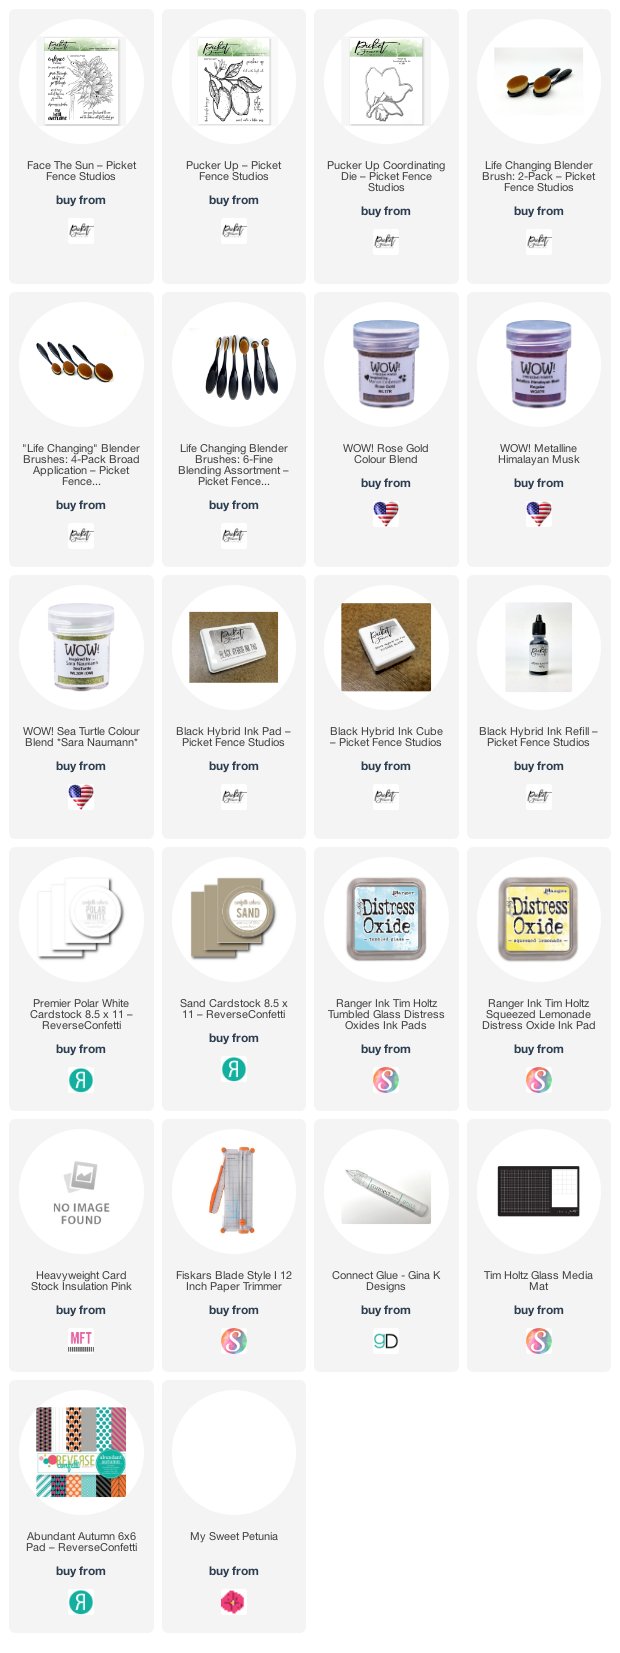
I was so excited to try the Rose Gold Embossing powder on some kraft card stock. Let me tell you, it did not disappoint. I stamped the gorgeous sunflower image from Face the Sun in Versamark ink and then covered it with the Rose Gold powder. 


Let me show you a close up of the detail. Gah!!! I love it. I finished off the card with a simple sentiment in black ink and added some twine and designer paper along the left side. 


I was fortunate to get some pretty new colors of embossing powders to play with too. I don't always reach for color, so I thought this was the perfect opportunity to see what they can do. Again, I was not disappointed. The Sea Turtle powder is sooooo pretty and I used it to outline the Pucker Up stamp. The lemon branch image is so good. After I let the embossed image cool down, I added a touch of color with my Copic markers. 


For the background I used my Life Changing Blender Brushes to blend on some distress oxide inks in Tumbled Glass and Squeezed Lemonade and then did a splattering of the same colors. I cut out the Pucker up image with the matching dies and added some dimension with foam dots. 


I was excited to try some solid embossing on a strip of paper and then die cut it. I LOVE the color of the Metalline Himalayn Musk powder. I covered a scrap piece of white card stock with Versamark ink and then poured on the embossing powder. It took a little bit of time to get the full strip to melt, but the powders do a beautiful job of creating a smooth finish. I let it dry and then ran the paper through my die cut machine with the Hello word Die. Look at the shimmer. 


Follow me to see what awesomeness Ericka has for us.