We are squeezing in a spooktacular release from Lil' Inker Designs, just in time for the Halloween festivities. A little bit of new, mixed in with old, and we think you are going to love these new products. You can see all the new Release and featured products over on the LID Store. Laura's got all the details on the Blog.
There is a GIVEAWAY happening, too. Just leave comments for a chance to Win Each of the new dies releasing.

Also, Every order placed will receive the Here for the Boos stamp set. All you have to do it place an order September 25 & 26. No code or min order needed.

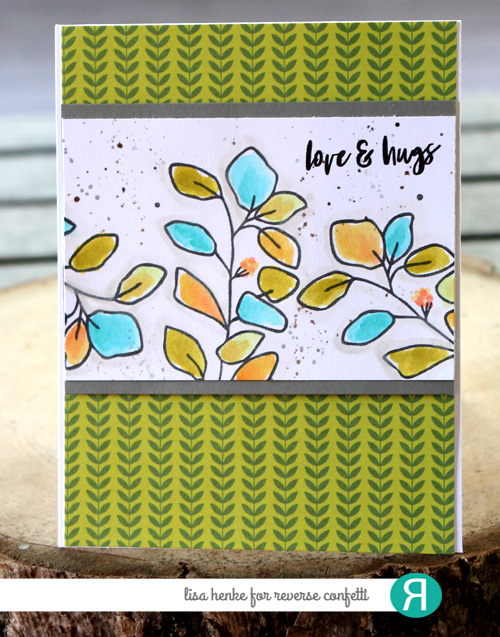
That sentiment is the brand new Large Spooky Word dies and it's perfect for an A2 card front. It's awesome that there are two size versions of this word die. A girls gotta have option. I added the word "hugs" to finish off my greeting.

Here is the blog hop line up for today.
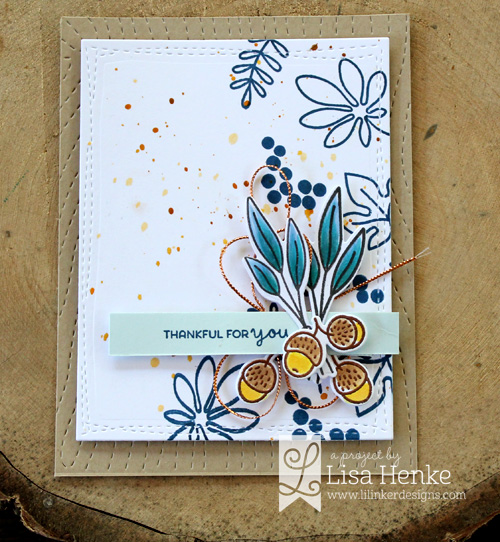
Join me to see what the rest of the team has created.
Lisa Henke <<----You are here
Here is a look at the new products I used on today's cards.

Here is the size comparison of the two dies.