Thursday, September 26, 2019

Lil' Inker Designs September Release/ Day 2


We are squeezing in a spooktacular release from Lil' Inker Designs, just in time for the Halloween festivities. A little bit of new, mixed in with old, and we think you are going to love these new products. You can see all the new Release and featured products over on the LID Store.  Laura's got all the details on the Blog

There is a GIVEAWAY happening, too. Just leave comments for a chance to Win Each of the new dies releasing. 


Also, Every order placed will receive the Here for the Boos stamp set. All you have to do it place an order September 25 & 26. No code or min order needed. 

 I had fun creating a monster party for you today. The stamps are from the Monsters Ink stamp set (pssst.....I hear supplies are limited on this one, so grab it quick if you want them). I did some clear embossing in the background with the eye ball images on Midnight card stock.   I colored up the monster trio with Copics and then added some googlie eyes to them. I cut them out with the matching Monster Ink dies.

That sentiment is the brand new Large Spooky Word dies and it's perfect for an A2 card front. It's awesome that there are two size versions of this word die. A girls gotta have option.  I added the word "hugs" to finish off my greeting. 


Here is the blog hop line up for today. 
Join me to see what the rest of the team has created.

Lisa Henke <<----You are here


Here is a look at the new products I used on today's cards. 
Here is the size comparison of the two dies. 


Photobucket


Wednesday, September 25, 2019

Lil' Inker Designs September Release/ Day 1


We are squeezing in a spooktacular release from Lil' Inker Designs, just in time for the Halloween festivities. A little bit of new, mixed in with old, and we think you are going to love these new products. You can see all the new Release and featured products over on the LID Store.  Laura's got all the details on the Blog

There is a GIVEAWAY happening, too. Just leave comments for a chance to Win Each of the new dies releasing. 


Also, Every order placed will receive the Here for the Boos stamp set. All you have to do it place an order September 25 & 26. No code or min order needed. 

SO I just HAD to  use the new and improved Bats & Broom Sticks Die. It used to be a solid die that was not the easiest to line up. With the new improvements on dies over the years and the outline images now available this is a no-brainer improvement! I love how easy and fast these new dies are to cut the stamped images. 


I stamped the awesome witch image from Bats & Broomsticks in black ink and then cut it out with the Dies. The other showstopper on this card is that Spooky Script word die! OMG. it's my new favorite. I completed the sentiment with the help of a few stamps from the Boo Faces 2 stamp set. Before I assembled the stamps and dies onto the card front, I created an ink blended background and cut it with the Silly Stitched Rectangle Die


My next card is showcasing some previously released stamps and dies. It was so fun to create new with the old. I combined the Boo Faces stamp set and Pumpkin Faces dies for my card. I used the dies to cut out the eyes on the Ghost Border die


I stamped the sentiment "hey Ghoulfriend" from the Boo Faces stamp set and then added in the Boo! Word die


Here is the blog hop line up for today. 
Join me to see what the rest of the team has created.

Lisa Henke <<----You are here


Here is a look at the new products I used on today's cards. 


See you back here tomorrow for another Spooky card!


Photobucket

Tuesday, September 24, 2019

Color Throwdown/ PFS Merry & Bright

It's time for a new color combo for the Color Throwdown Challenge. 


This week we have Barbara here with our colors. Remember, we're using generic colors, so as long as you use the color values shown: cobalt blue, aqua, gray, and black you'll be good...the color police won't come after you--this is all about having fun! And, feel free to incorporate any other neutrals you need in your design, as well. 

If you upload to a public gallery, please use the key words CTD562and please use #ctd562 and #colorthrowdown on social media sites. Also, when linking up your card using the linky tool at the bottom of the post, please link to your specific post, not a generic link to your blog--all of the "rules" are in the right sidebar, so check 'em out to be sure. Importantly, though, no digital designsonly digital images that are printed off and colored will be allowed. Totally digital designs will be removed from the link up.


I loved the colors this week and stepped out of the box to create a holiday card with these non-traditional colors for a poinsettia. I had yet to color up this giant, gorgeous Christmas Poinsettia Star so I embossed it with silver embossing powder and then used my Taylored Expressions Liquid watercolors to bring it to life with the challenge colors. My cobalt blue didn't turn out as bright as the inspiration photo, but there is a darker blue tone that is in my water color. 

I then did some masking on the large Christmas Wishes stamp and only inked up the "merry & Bright" in Midnight ink. 


Here's some fabulous inspiration from the rest of the CTD team to get y'all started!

We can't wait to see what you create!


Photobucket

Wednesday, September 18, 2019

Color Throwdown 561-Giving Thanks For You


Hello everyone! Amy Rysavy is out host for week's Color Throwdown challenge! She saw this GORGEOUS skirt online and thought it would make a perfect challenge for this week! The colours for this week are to use purplelight greenteal and ivory. Remember we just use generic colors (so any brand/type/whatever you have will work) and you can always feel free to add in neutrals (white/black/etc) to make your creation pop!

If you upload your creation to a public gallery, please use the keyword CTD561, and please use #CTD561 and #colorthrowdown on social media so we can find your gorgeous creations!  When linking up your creation using the linky tool below, please be sure to link your specific post, not a general link to your blog.  All of the "rules" are in the right sidebar, and you can always check there to be sure!


One last detail to remember, no digital designs.  Only digital images that are printed off and colored will be allowed.  Totally digital designs will be removed from the link up.


Have you seen all the white pumpkins out there? They are trending right now in home decor with the continued uprising of the Farmhouse style. I created one here on my card today with this week's colors. All products are from Reverse Confetti. I adore the new pumpkin floral set called With a Thankful Heart. I colored it up with my Copic markers and then cut it out with the coordinating  With a Thankful Heart Confetti Cut. I then stamped the sentiment in Grape Soda ink. I added a border of the Stitched Circles Cover Panel in RC Aqua and a strip of green pattern paper from This & That paper pad. I added the finished panel to a layer of Grape Soda card stock. 


Here's some fabulous inspiration from the rest of the CTD team to get y'all started!

We can't wait to see what you create!


Photobucket

Saturday, September 14, 2019

Picket Fence Studios September Release


You guys! It's Release Day and it's sooooo amazing! You are going to want to check out the DT blogs to see all the awesome new stamps, dies, and stencils. As always, there is something for everyone. We are celebrating Christmas and it's goooood. Trust me! You can see all the NEW PRODUCT HERE!

We move fast in the crafting world when it comes to holidays, we are showing our holiday release and it's awesome. I love all the images, especially this beautiful girl. It's from the set called The Season Of Giving

My card started with the fabulous Life Changing Blending Brushes. I blended on a soft background with Milled Lavender and Broken China Distress Oxide inks. I added some textures and a wintry feel with some splatters of clean water, let it dry, and then I added splatters of the colored inks I used. I let that dry and then finished it with a splattering of white ink. I set it aside and got busy coloring up my images and then used the matching The  Season of Giving dies. Once my panel was dry, I added in some ground with a Copic multiliner pen and some grey copics for shadows and stamped the sentiment. 

Oh, that sentiment! Elf is my favorite holiday movie. It makes me laugh and the message is beautiful and this sentiment from The Season of Giving is at the heart of the theme. I was so happy to see it in this stamp set.  I added it to the upper right corner of my card front. I used foam dimensionals to add the die cut images.  


So be sure to hop over and see what the rest of the design team has created with this release. It's soooo good. You can find it all over on the PFS Blog.


Photobucket

Thursday, September 12, 2019

Inspired By: signs of fall/ Lil' Inker Designs

Acorns... I'm a sucker for them so you can bet that every fall, there will most likely be an inspiration photo using acorns. Of course you don't have to include them in your project. How does this inspire you? acorns? fall? leaf? colors? trio?

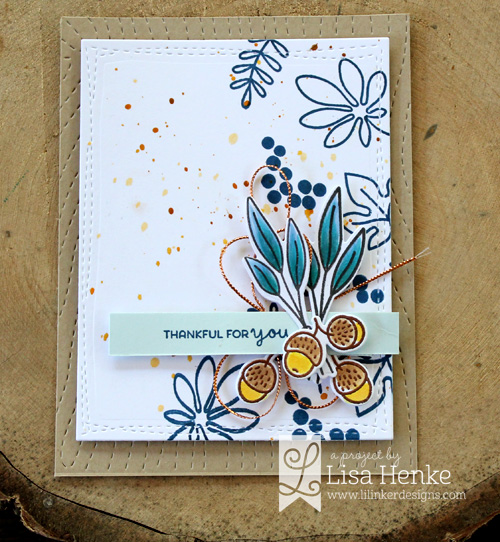
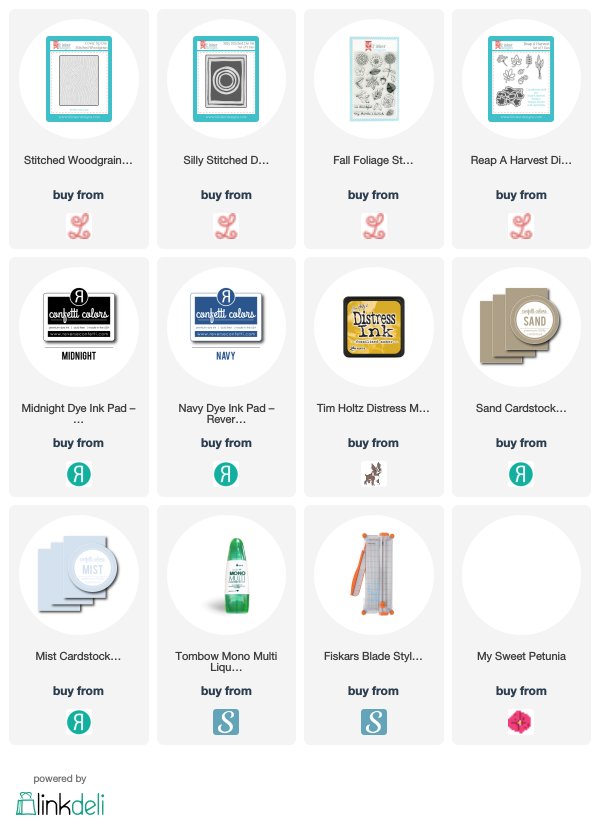
I LOVE the mix of blue and gold (yes, I am a Michigan girl) and the texture from the acorns. The beautiful Reap a Harvest stamp set and Reap a Harvest Dies (it looks like it is out of stock, the dies are there tho. You could easily re-create this card with the Fall Foliage stamp set) was the stamp set I reached for from my stash. 


I stamped the outline images in Navy ink onto a piece of Premium Polar White card stock cut with the Silly Stitched dies and gave a splattering of golds and yellows to the background. I then embossed the acorns, hard to capture the shimmer in the photo, with some copper WOW embossing powder. I used Copic markers to color up the long leaf images and added the sentiment in Navy ink onto a strip of Mist card stock. To complete card front, I tucked in some copper cord behind my main images and added the finished panel to the top of some kraft card stock cut with the Stitched Woodgrain Cover Up


Thanks for stopping by today. 
Be sure to check out the Inspired By Challenge blog 
for the details and to see what the design team has created.


Photobucket


Wednesday, September 11, 2019

Color Throwdown 560/ Reverse Confetti Peony Greenery


It's time for a new Color Throwdown Challenge. I am excited about this one. Fall is starting to creep in and these colors are perfect. 


Sunflowers and apples are definitely signs we are transitioning into the fall season here in the US! Hello and welcome!  Wanda is here and she's our hostess this week. I hope you love these warm, vibrant colors - red, yellow, brown and green - as much as I do!

If you upload your creation to a public gallery, please use the key words CTD560, and please use #ctd560 and #colorthrowdown on social media sites. Also, when linking up your card using the linky tool at the bottom of this post, please use a direct link to your specific post, not a generic link to your blog. All the rules are in the right sidebar, so check them out if you're unsure. No digital designs will be allowed - only digital images that are printed off and colored.

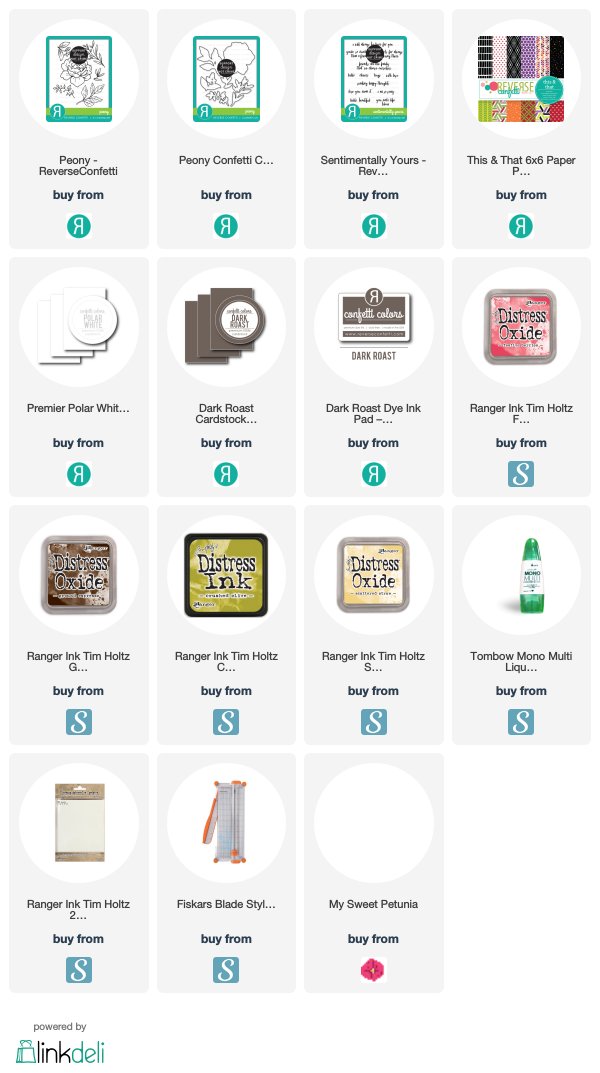
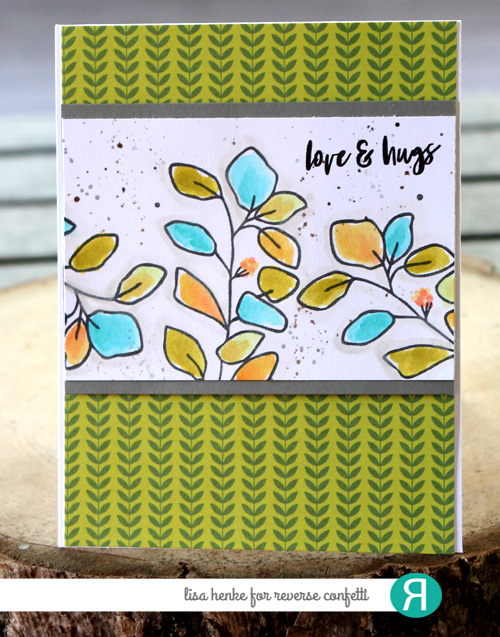
I used all new products, JUST released from Reverse Confetti. I love, like love, love the greenery in the new Peony stamp set (all affiliate links are linked below. Thank you for using them, I appreciate you) I cut all the images and used Distress inks to give them a quick watercolor. I then used the Peony Confetti Cuts to cut each of the images. I added in a strip of that red pattern paper from the This & That 6x6 paper pad. 


The sentiment is from the Sentimentally Yours stamp set. It's a good one. Go get it, if you haven't already. I added in the other challenge colors with my background splatters and my card stock mats. Some pretty hemp twine finished the card. 


Be sure to check out some great inspiration from the talented design team! 
We can't wait to see what you create!

and here is the team:


Photobucket

Monday, September 9, 2019

STAMPtember/ Reverse Confetti


It's the most wonderful time of the year! It's STAMPtember and I am so honored and really excited to be joining the fun with Reverse Confetti. I am honored to be creating for this collaboration. Reverse Confetti and  Simon Says Stamp  created the most darling set for  called Wonderful You. It's an exclusive set and supplies are limited so don't wait to order! Otherwise you risk missing out. 
 No photo description available.

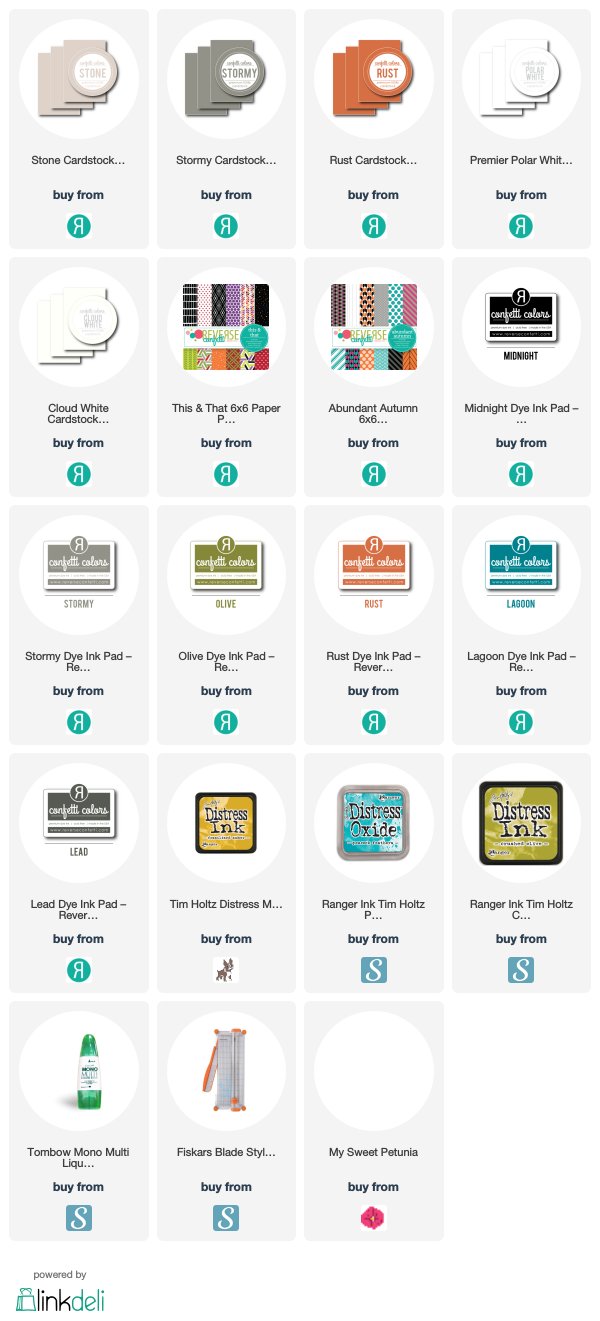
I created two cards today. I used the stamp in two different ways and as I was making them I keep coming up with new ways I want to create with them. lol. The first one, I stamped the outline leaf image onto Cloud White card stock and used some distress inks to water color them. It was quick and easy. I lined it with some Stormy card stock and a layer of the pretty leaf pattern from the JUST released this & that 6x6 paper pad


I stamped the sentiment in the upper corner with Midnight ink and then splattered some Espresso and Oreo inks. 


My next card shows off the intended way to stamp the image. The set is brilliant as the outline image is separate from the solid leaf images. The set is color coded so leaf placement and multi-colored images is easy to create. 


I used Lagoon, Rust, and Olive inks for the leaves and the sentiment and large outline image were stamped with Lead ink. I added a strip of Abundant Autumn pattern paper. I then added the finished panel to a Rust top folding card base. I used some enamel dots and sequins to accent it. 

Thanks so much for stopping by today. 
Have a great Monday and happy shopping! 


Photobucket

Sunday, September 8, 2019

Reverse Confetti September Release Day

 It's here, it's here....the September Release from Reverse Confetti is LIVE! I'm so excited to see you all get these awesome products into your hands.


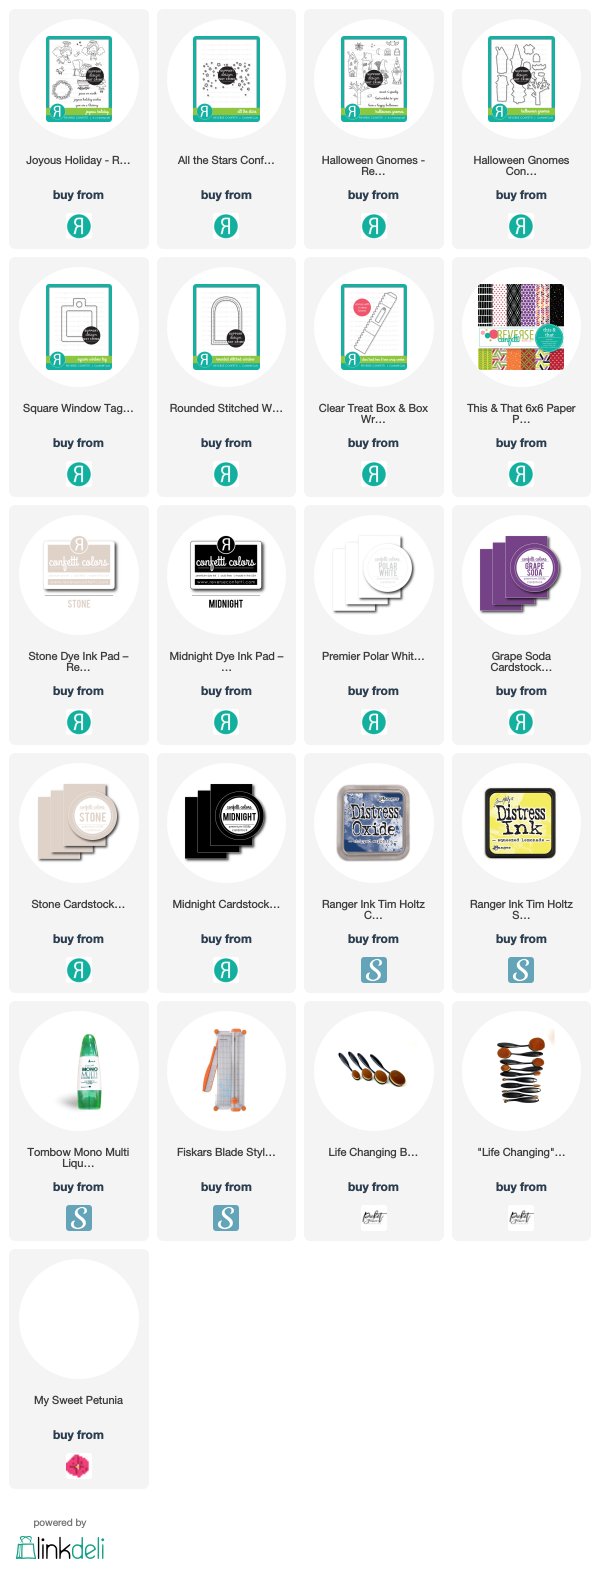
We have a Release Day hop for you today and I couldn't resist this sweet little angel. I started with an ink blended background with Squeezed Lemonade and Chipped Sapphire distress oxide inks. Once dried, I gave the background a splattering of water and white pigment ink and then added "real" stars with the All The Stars Confetti Cuts. So happy to have this die added to my stash. It's uses are limitless. 

I colored up the sweet angel from Joyous Holiday with Copics and added some Crystal Stickles to her wings. I then cut her  out using the matching Joyous Holiday Confetti Cuts and stamped the sentiment beneath her in Midnight ink. 


I also couldn't resist using the Halloween Gnomes. I LOVED the Santas that were released last year, so I was giddy as all heck when I saw the witch and wizard this year. They are just fabulous. 
I started with a tag and decided to add it to a card front. I cut the Square Window Tag Confetti Cut from Midnight card stock and the inside square from Premium Polar White. I colored up the witchy gnome with copics and then cut her out with the matching Halloween Gnomes Confetti Cuts


I used the Rounded Stitched Window Confetti Cut to add a little hill top for my witchy gnome. I love how it looks cut from the This & That 6x6 paper. Once I finished the tag, I added it to a square of Grape Soda card stock


I stamped the sentiment from Halloween Gnomes in Midnight ink onto a tag cut from Clear Treat Box & Box Wrap Combo Confetti Cut. I just love the size of this tag. I cut it from Stone card stock and added a few spider web details with stone ink. I finished off the card by adding a piece of This & That pattern paper to the A2 card from and then adding the finished tag panel over top. 


Thanks for stopping by today. I appreciate you always. 
Click the list below to see all the other fabulous projects from the team. 

You can shop all the new products HERE!


Reverse Confetti Blog
Therese Calvird

Here is a closer look at the new products I used today.


Photobucket