Welcome back! It's the second day of our Happy Fall-idays Showcase with Reverse Confetti. Today we are sharing some ideas and inspiration for Thanksgiving. If you missed yesterday's showcase, we were featuring Halloween projects. Check it out. Tomorrow we will be focusing on Christmas (stop by the RC blog for the full list of DT members).
Today I thought about sharing a simple hostess gift, or even a little gift to hand out to your dinner guests this year. First things, first.....I kept it waaaay simple. No one has time to add a super detailed, time consuming project to their to-do list. So quick and easy is my motto. I had these muslin bags in my stash and I knew they would make sweet little treat sacs. I filled them with some white chocolate M&M's, but dinner mints would be great too.
This first one is a larger size bag and I simply die cut the Leafy Confetti Cuts with some green felt and then cut out the word "thankful" from the Thankful Pretty Panel in a deep pretty red felt. **TIP** because the word is so intricate and delicate, especially once you cut it from felt, go ahead and cut a paper version of it, too. I used the same color card stock so it was a hidden layer but still adds some stability. Glue the felt piece on top of the paper piece. Then go ahead and trim out the word from the frame.** This made the die cut piece so much easier to handle.
I love that I did not have to sew on this project. I simply glued on the felt pieces (put a scrap piece of paper inside the bag while gluing just to make certain you don't glue the bag shut). I finished it off with some ribbon, a matching button, and some of the yummy new solid twine in Natural.
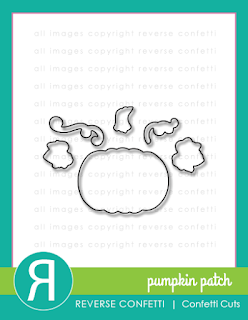
I also have a smaller size of this same muslin sac, and I wanted to show you a different version incase you didn't have any felt. Here I used the Pumpkin Patch stamps and Pumpkin Patch Confetti Cuts to create a paper embellishment for the sac. Works just as well. I used some scor-tape to adhere the pumpkin and all it's elements.
Behind it, I wanted a little something extra, so before I adhered the pumpkin, I actually stamped directly on the bag with Whole Lotta Dots. Again, be sure to place a scrap piece of paper on the inside of the bag, this time so the ink doesn't bleed through to the other side.I tied it up with some Cappacinno twine.
Here is another look at the pair of treat sacs together.
Here is another look at the pair of treat sacs together.
I think they turned out super cute. Now I just need to crank out about 10 more and surprise my family on Thanksgiving.
Here is the list of the DT members that are sharing today. You won't want to miss it!
Reverse Confetti Blog
Thanks again for hanging out with me today. I hope you are inspired to create something handmade and special for your holidays this year.


These little hostess gift are so pretty. I know I would love to receive one!
ReplyDeleteThese little bags are awesome, Lisa! LOVE both versions and I'm officially inviting you to Thanksgiving at my house! ;-)
ReplyDeleteLovely!!!!! Your embellished bags are simply fantastic! Love the added felt.
ReplyDeleteWhat wonderfully creative and thoughtful hostess gift bags! So pretty!
ReplyDelete~c